Basic Steps to Bake a Perfect Bread Loaf
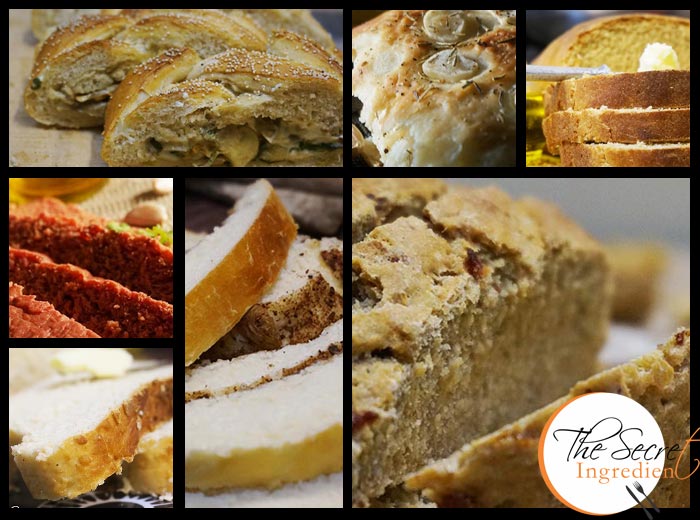
I am not a expert or trained baker but I am someone who has learnt from her mistakes. It was always my dream to bake a perfect bread. After stumbling for years I can finally say I can bake that perfect loaf of bread. There are many people who think bread making is a rocket science. The yeast is a beast which cannot be tamed easily. Well all I can say if you follow some basic rules you can master this skill.I have posted a separate article on yeast ” All you ever wanted to know about Yeast“. I would recommend you read that before we move forward.
This article is aimed to clear all your doubts (well almost) and introduce you to some terms related to bread baking. I am refraining from going into complex details and terminology, of course my objective it to motivate you and not to scare you.
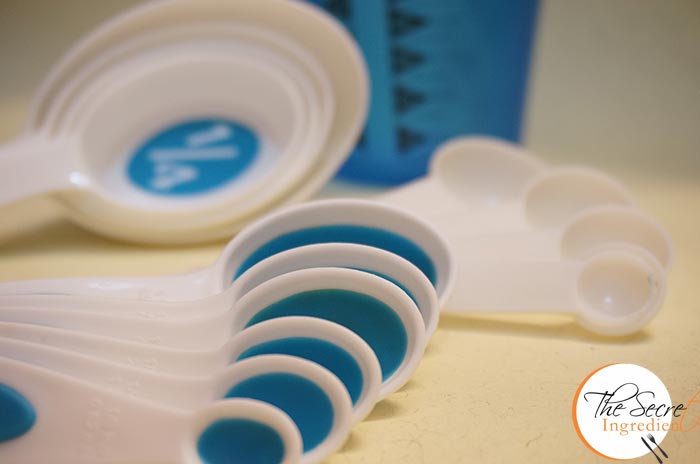
1. Measuring the Ingredients
It is extremely important to measure the ingredients mentioned in the recipe and be very precise with it. Merely eyeballing the ingredients will not help. If you want to get good results start measuring the ingredients and give your instinct some rest. For example the use of yeast has to be very accurate, a little less or a little more will effect the rising of the dough and hence the final outcome. You can either weight the ingredients like in grams or ounces or measure them by volume like a cup, a teaspoon. Over a period of time I have realised measuring the ingredients by weighing is far more accurate than measuring them by volume. But nonetheless the emphasis is on the fact that the ingredients must be measured. It is advised to invest in measuring spoons and cups before you take a big leap.
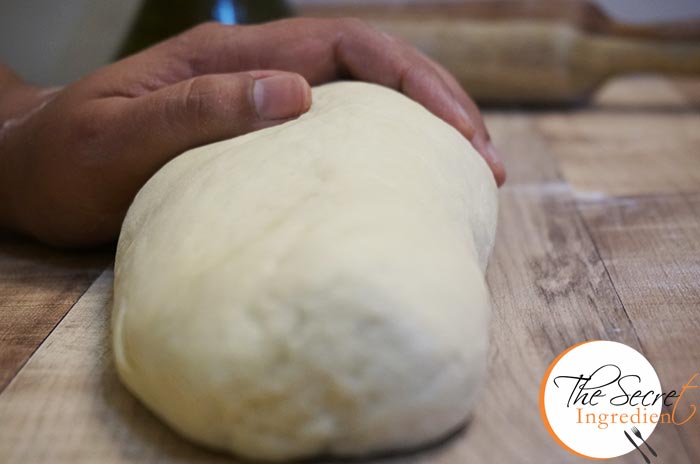
2. Mixing and Kneading
Once you have measured the ingredients and proofed the yeast (if using Active Dry Yeast or Baker’s yeast), its time to mix the ingredients and knead it into a soft dough. When you mix wet ingredients to the dry, add little by little and keep mixing till the flour comes together. This is not mandatory but it helps you to avoid adding more liquid than needed. Therefore, add only that much liquid which is necessary to make the dough come together. You can use your hands or even a wooden spoon to mix the ingredients until the ingredients are moistened.
Once the dough comes together place it on a flat surface, preferably a stable counter table or your clean kitchen slab. Dust a little flour and knead using your hands. Kneading involves pushing and stretching the dough to develop and strengthen gluten in it. Gluten is a mixture of protein present in the wheat which gives elasticity to the dough. So the more you knead the more elasticity it gets, which ensures your bread is soft and the inside crumb is airy. Gluten gives bread structure; it consists of strands of protein that form when water is added to flour. The protein stretches to accommodate the bubbles produced during fermentation, allowing bread to rise. Kneading is the most crucial part of break making. If the dough isn’t given love and patience it is going to severely affect the final outcome. So give it time and knead at least for 5-7 minutes till it becomes soft and stretchy. Give it a 10 minute rest and continue to knead again for another 10 minutes. You will know your dough is ready if it becomes seamless and there are no visible cracks on the dough. To determine if yeast dough is kneaded enough, break off a small, walnut-sized ball of dough. Stretch the dough, much like stretching a balloon or a piece of bubble gum. If the dough is kneaded enough, it will not tear easily and a translucent membrane will be visible. This is known as a gluten window.
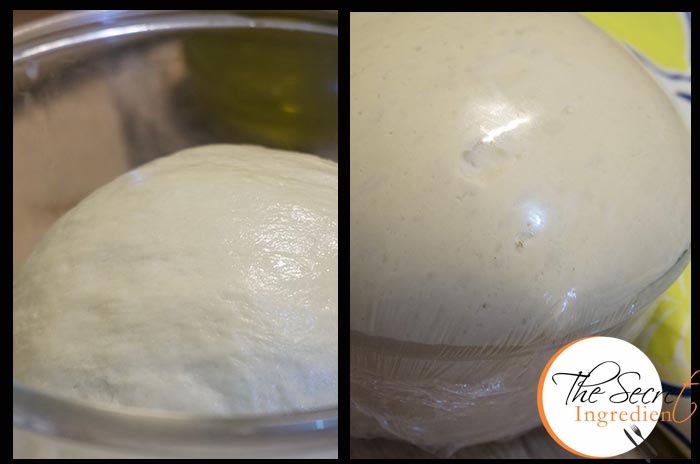
3.Proofing
After Kneading the dough the process of fermentation kicks in. This is known as ‘proofing of bread’ or ‘the first rise’. This is a resting period for the dough when the activated yeast combines with the liquid and feeds on the flour to release bubbles of carbon dioxide which makes the bread rise and also alcohol which imparts flavour to the bread. The dough should be covered with a lint free kitchen towel or simply cover the container with Cling wrap . The intention behind this is to keep the dough soft and moist. You may place this covered container in a microwave (unplugged), or any warm place where it can rise. If you are baking in winters it is advisable to place the container near another container containing hot water. You may need to reheat the water every half an hour to ensure the dough rises. Basically the dough needs a warm environment to rise.
Dough is sufficiently proofed when it has doubled in size. Therefore, use a container which can accommodate double size of the dough initially. Otherwise your risen dough will be all over the place. You can eye ball how much has the dough risen. When its double its ready. However in the case of dough with more than 50% Whole wheat Flour the dough should be allowed to rise only 1 and 1/2 times only because of the presence of bran, which makes the structure fragile.
4. Punching Down and Turning Dough
After your dough has risen beautifully. Its time to deflate it gently and press it down. This is done to stop it from over proofing. If it over proofs to more than double the gluten of the dough will not be able to hold it and the dough will become dense. I have also noticed the bread tastes more yeasty if kept longer. After punching it down transfer it to a a floured surface and knead it again with your finger tips and stretch the dough.
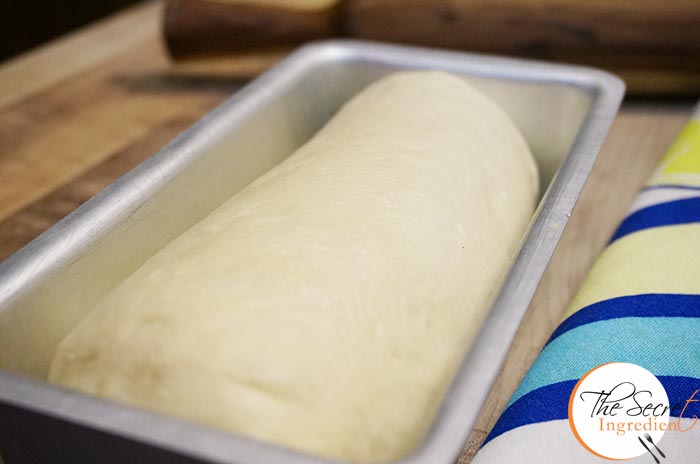
5. Shaping the Dough
After punching the dough and kneading it again. Its time to shape the dough. If you are making multiple loafs you can divide the dough with a sharp knife and shape them individually into desired shapes. It is recommended to grease your bread pan with oil and dust it with flour. Roughly roll the dough into shape and place it in the baking pan. Always remember the seam side should be down and the smooth surface on top.
6. The Final Rise
Once the dough has been shaped and placed in the baking pan, it is time for the final proof or rise.Cover the dough loosely with a kitchen towel or cling wrap for 20-30 minutes and let it rise and take a proper shape.Let shaped dough rise until it has almost doubled in size and a finger gently pressed against the side creates an impression that slowly fills in. You can always let it final rise in the refrigerator overnight. But before putting it in oven bring it to room temperature. During the final rise, you don’t want the dough to rise completely because it will continue to rise in the oven. And it it over rises it will fail to rise in oven and the crust will be uneven.
7. Glaze
Its completely optional if you wish to give a coat of glaze to your bread. It makes it look nice and effects the crust of the bread. Different kind of glaze are used to give different type of effects. Spraying dough with water or brushing with a mixture of 2 tablespoons beaten egg white and 1/2 teaspoon water produces a crisp crust. A whole egg lightly beaten with 1 teaspoon of water, produces a shiny golden crust. Egg yolks produce the brownest crust and usually necessitate tenting the bread loosely with foil after the first 20 minutes of baking. An egg yolk lightly beaten with 1 teaspoon of cream produces a very shiny deep-brown crust, beaten with 1 teaspoon of milk, it gives a shiny, medium-brown crust. If you are vegetarian or allergic to eggs, melted butter or oil can help you make a soft velvety crust. Glazes can also be used to “glue” or attach seeds to bread before baking.
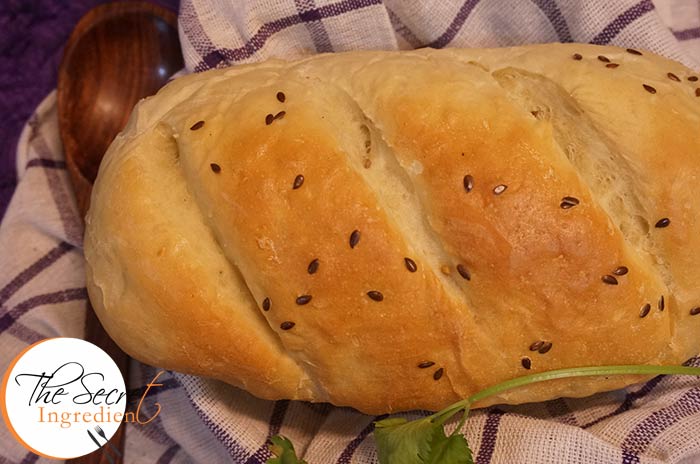
8. Slashing and Scoring
This is also optional. The whole purpose of this is to beautify the bread. Traditionally it was used as a signature to identify your bread in community Ovens. You can use a sharp one side razor or knife to slash the bread. The scoring will ensure where the bread bread will split oven while baking. I have used this scoring technique in my White Sandwich Bread.
9. Baking
The purpose of baking is to cook the fermented dough and make a soft crumb bread with irresistible crust. Before placing the baking pan in the oven preheat your oven at the temperature mentioned in the specific recipe for 10 minutes. After preheat you place the baking pan in the centre rack with top and bottom heat balanced. Half way down the line ensure you change the sides of the pan for even cooking. Keep checking the bread in between by opening the oven door. If at any stage you see that the top of the bread is getting brown quickly or is getting much darker in colour than it should. Simply tent or cover the top of the bread pan with some Aluminium Foil and continue to bake.
10. Cooling, Slicing, and Storing Bread
When the bread is out of the oven let it get to room temperature and then remove it from the baking pan. You can run a knife all around the pan to ease removing it. Place is on a wire rack to cool down completely, it should take around an hour. This also ensures that the air is circulated evenly and it avoids the crust from getting soggy. The bread should always be cut in to slices using a serrated knife when it is at room temperature. If you try slicing the bread while it is still warm it can crumble into pieces. Usually a home made fresh bread tastes best the day it is baked. Since it is preservative free you can store it up to 2-3 days depending on the weather. If its rainy and humid there are chances it can go bad sooner. The fat content in the bread also defines its shelf life. The more the fat the longer the life. To keep the crust crisp, store bread in a brown paper bag at room temperature. Bread should not be stored in the refrigerator as the starch will crystallize and the loaf will go stale more rapidly.
These 10 steps if followed religiously will make your bread baking experience remarkable. I have learnt everything from my mistakes. So do not be put off if the bread doesn’t come out good the first time. Keep trying and keep your spirits high. Do not use shortcuts and be patient. That is the key mantra to get that fresh loaf of bread on your dinner table.
Related Post: All you ever wanted to know about Yeast